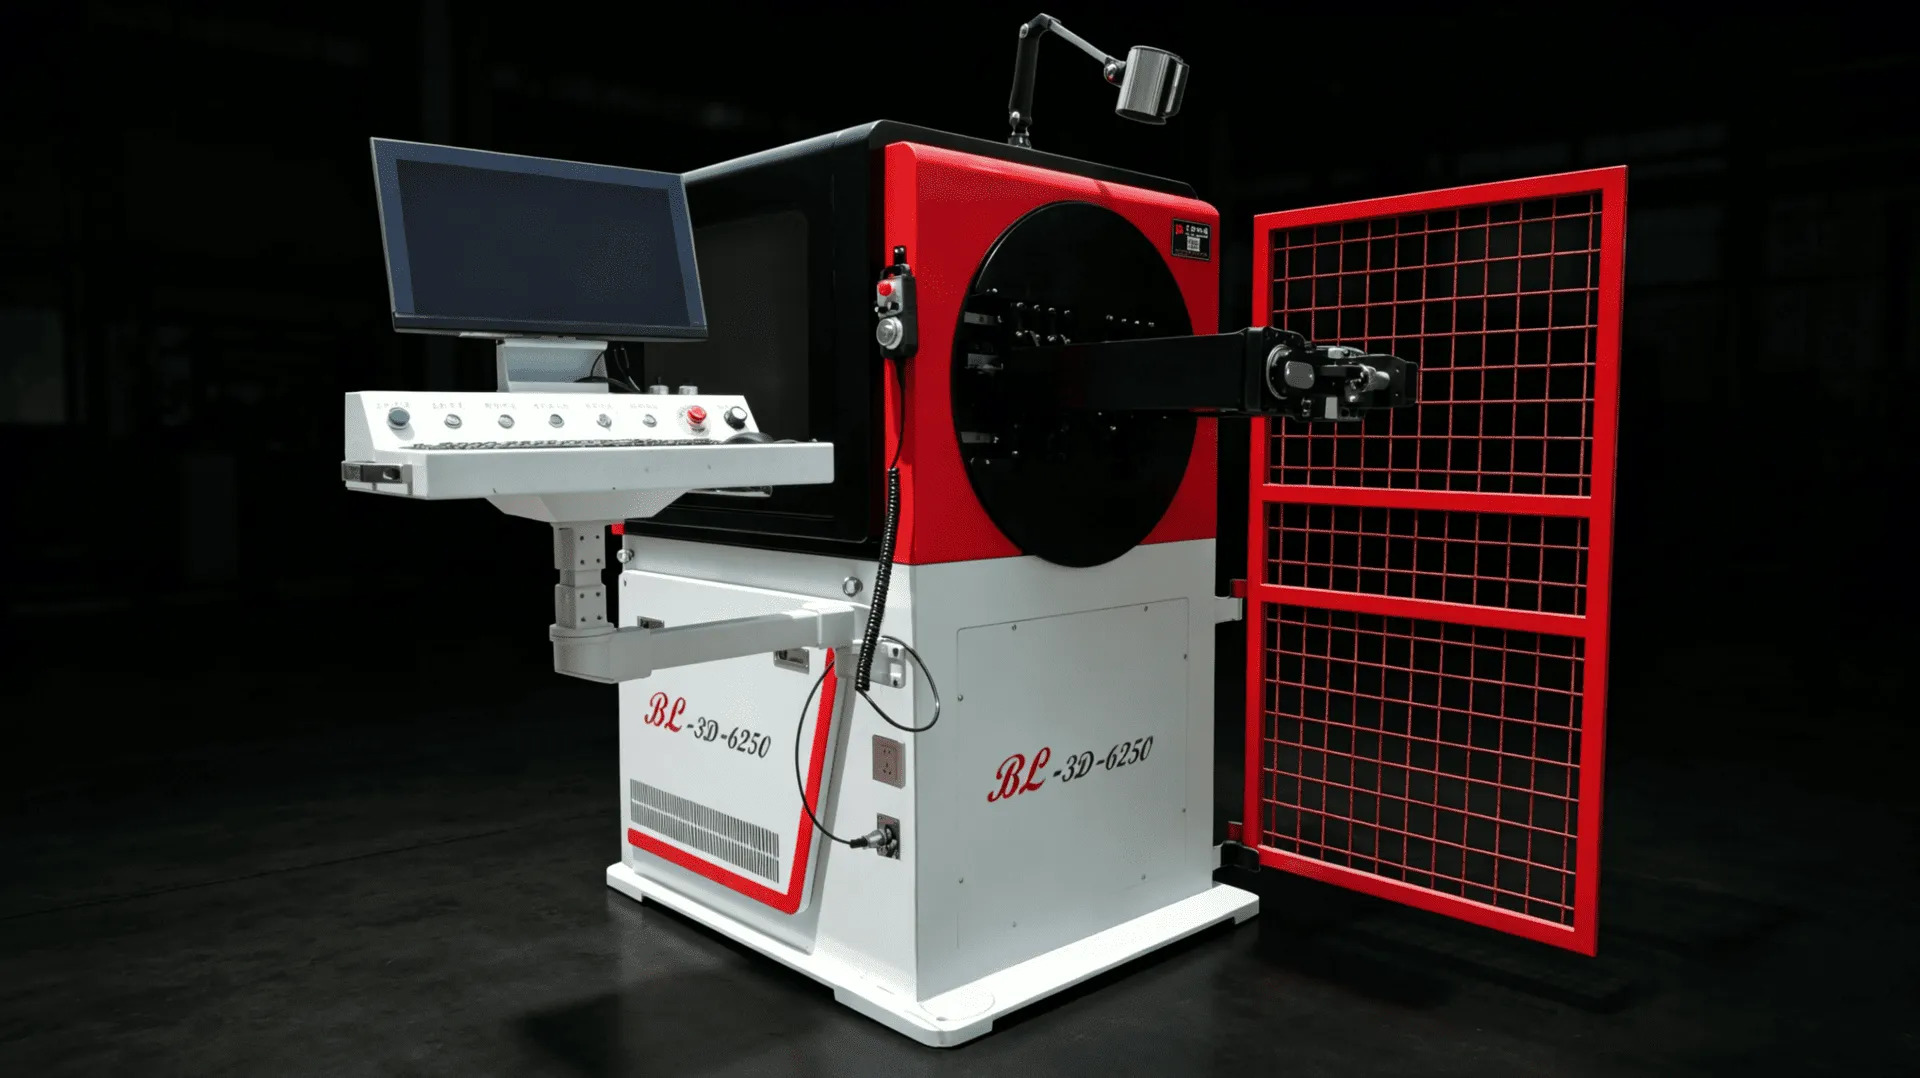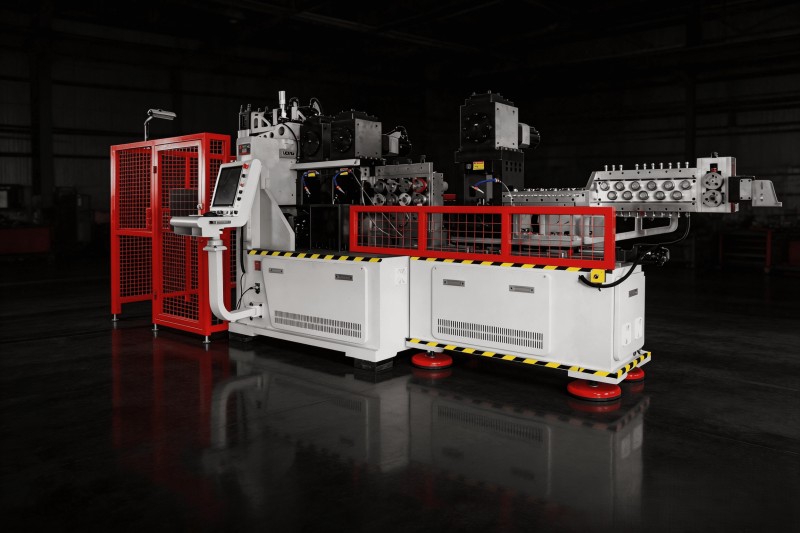


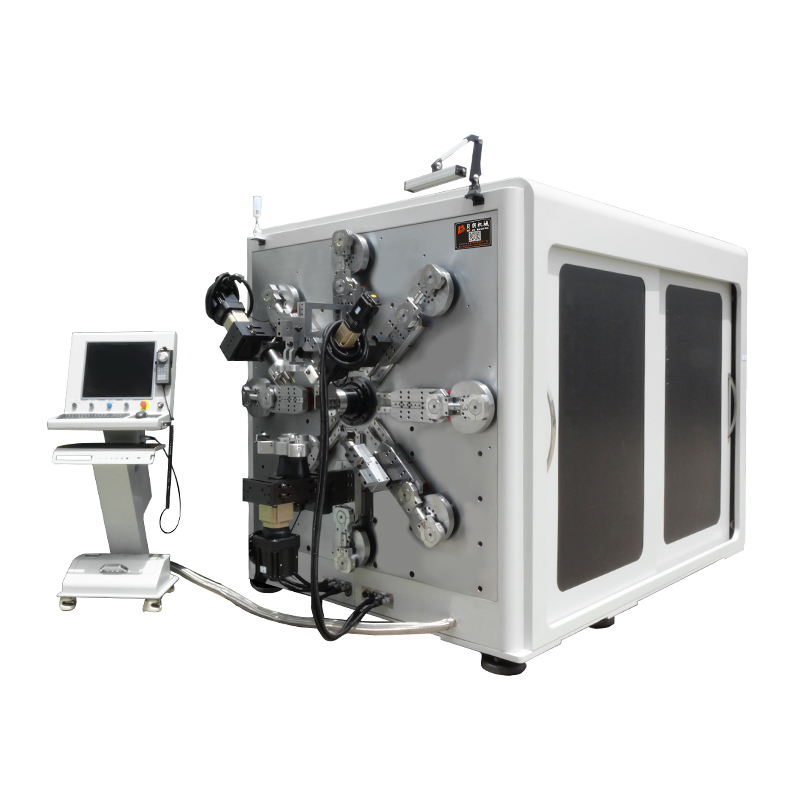
Ask a workshop that bends insulated bar what eats their scrap budget, and the answer is rarely cracks. It is the lump — a blister that rises on the inside of the bend, right where the coating has nowhere to go. Anyone running PVC, PA12 or mica-tape bar on a busbar bending machine has seen it. This coated busbar bending bulge looks like something you must live with. It is not. The bulge can be predicted, limited by geometry, and finished away with a controlled heating step when it still shows.
Why the Bulge Forms
When a bar bends, copper flows toward the inside of the radius. Copper compacts happily. The coating does not: PVC, PA12 and mica tape cannot compress, so the displaced copper pushes the insulation outward and a blister forms on the inner face of the bend.
Three factors set how big it gets:
- Inner radius. The tighter the radius, the more copper is displaced per millimetre of bar length.
- Coating stiffness and adhesion. Poorly adhered PVC bulges more freely than a well-bonded mica tape.
- Bar temperature. Cold bars concentrate the displacement at one spot; warm bars spread it along the coating.
The Numbers We Work To
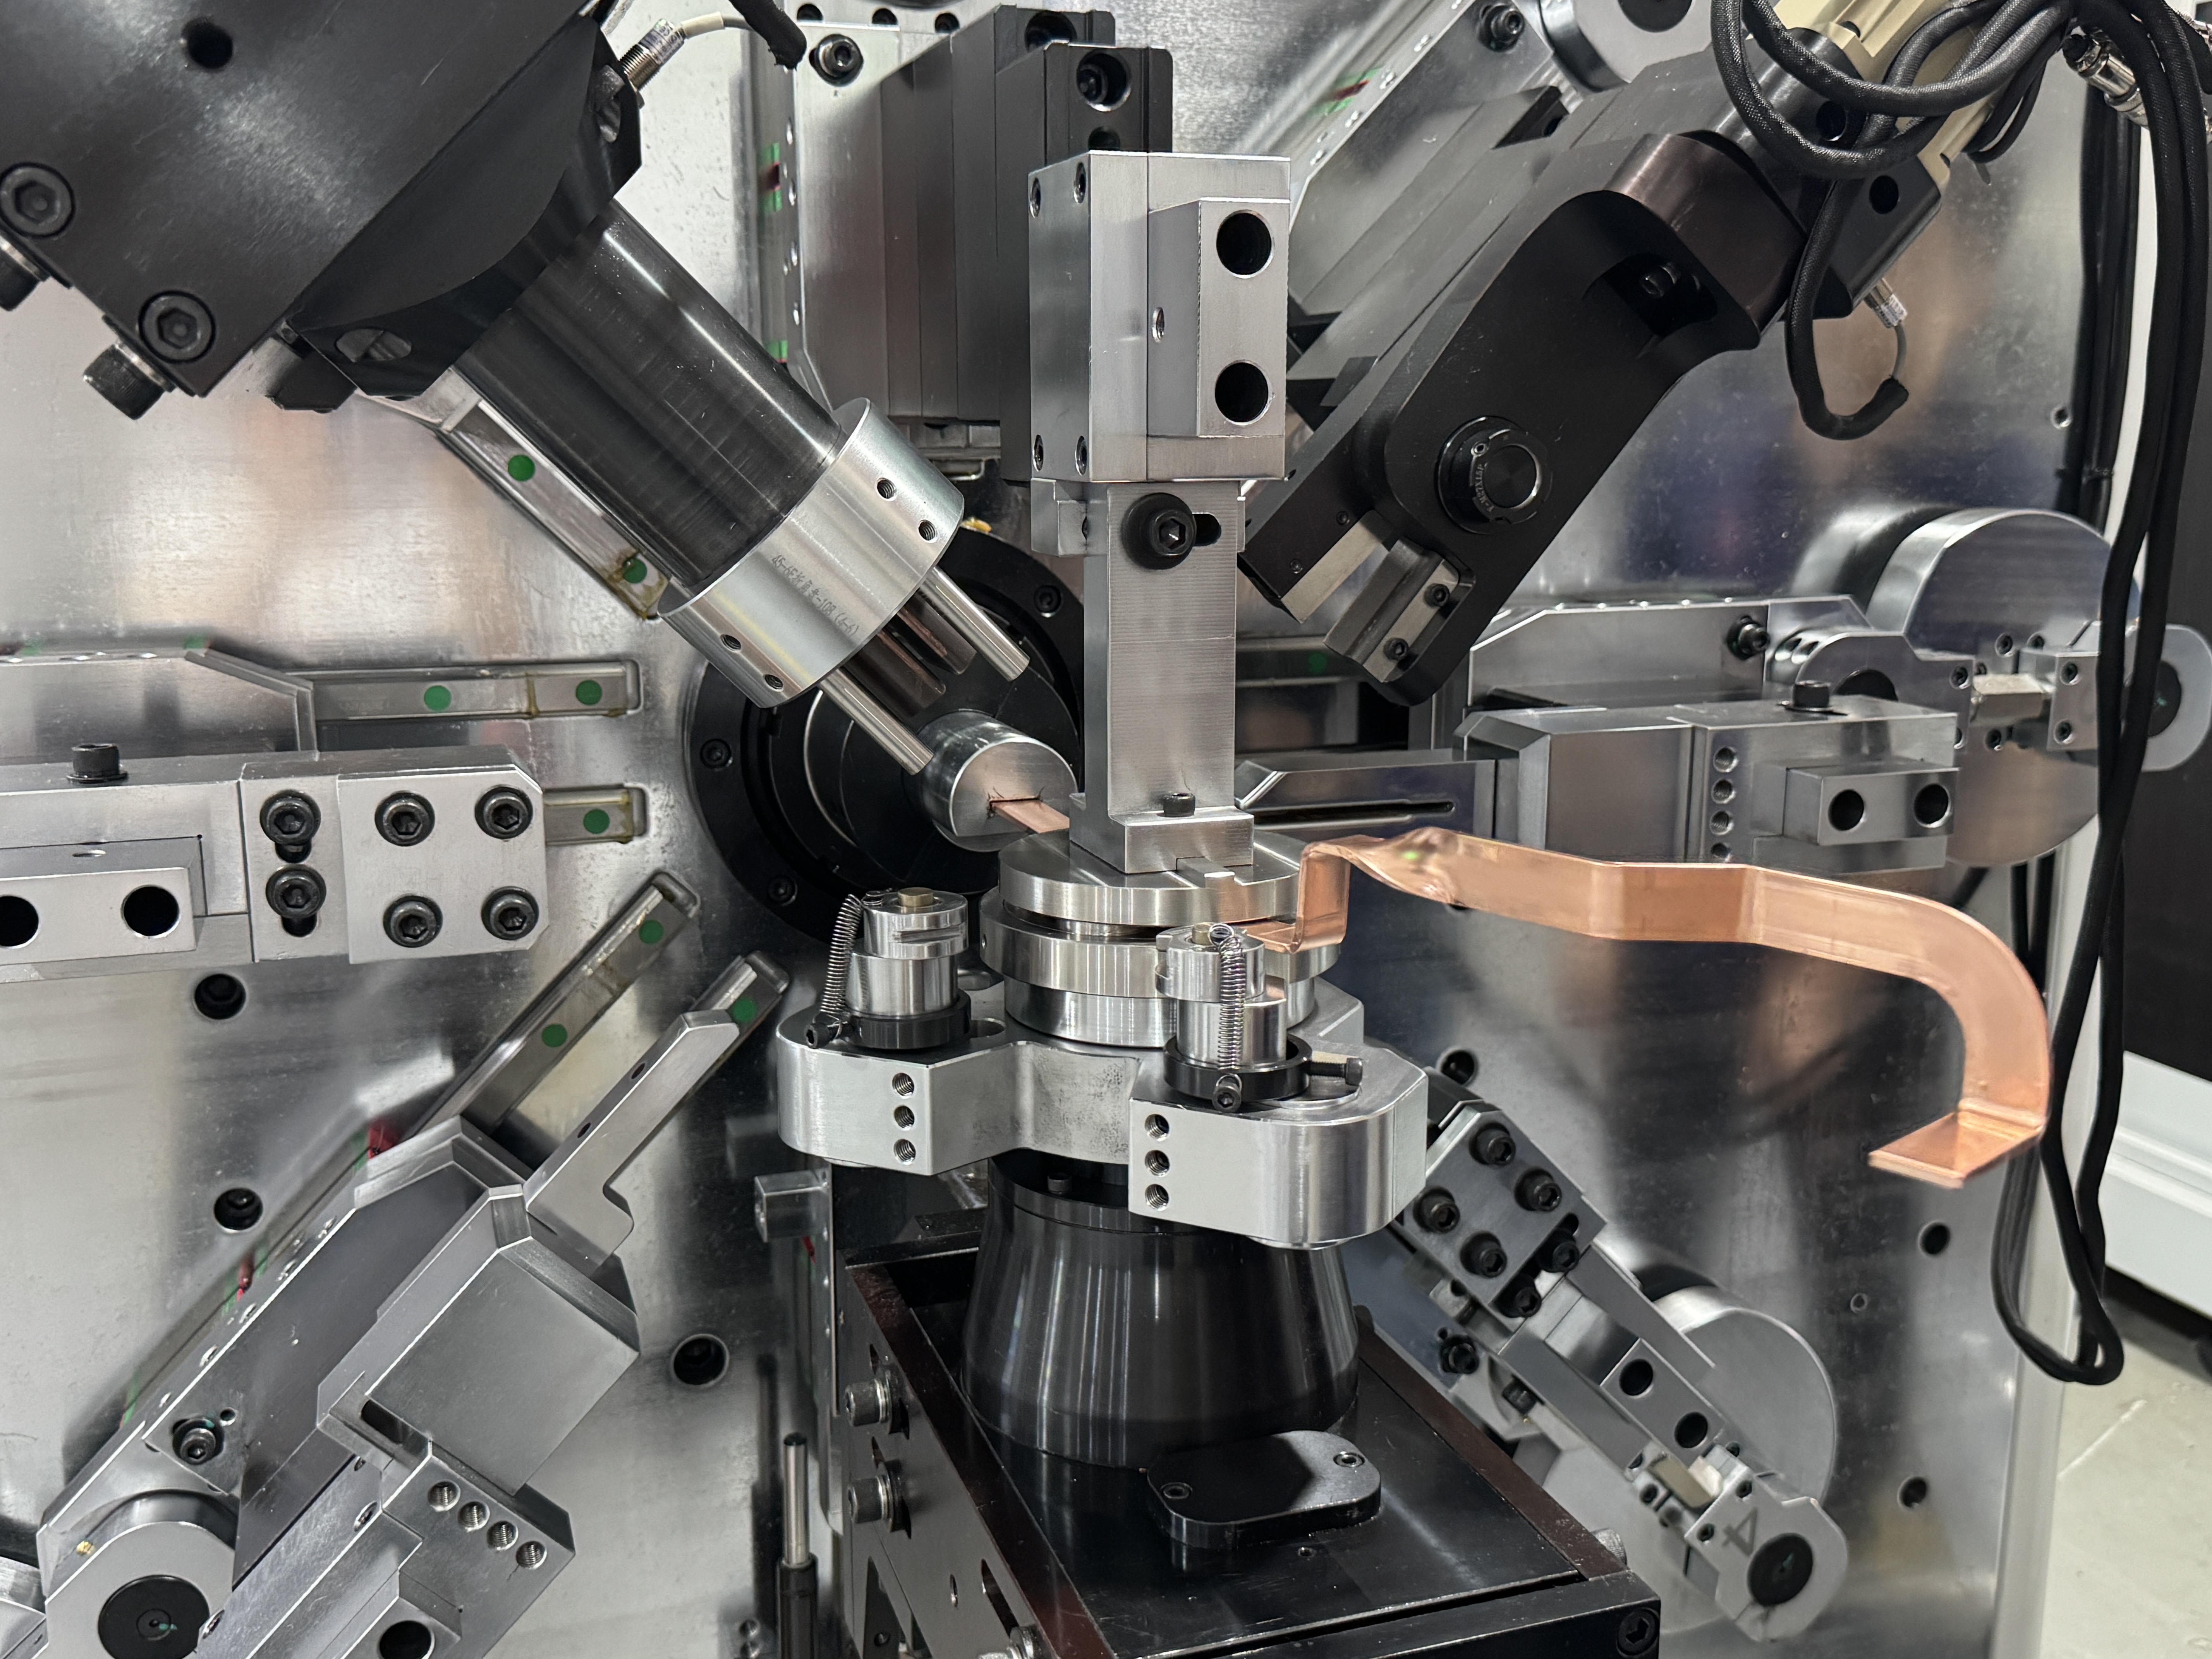
On PVC-mica bar, our production standard is a bulge of 1.6 mm single-side on flat bends and 1.5 mm on vertical bends. The industry tolerance commonly quoted is 4 mm total across both sides, so these values leave real margin for the customer’s assembly fit.
The geometry that gets you there is the same rule we apply on every busbar bending machine: hold the inner radius at one times bar width on flat bends, and one times bar thickness on vertical bends. Respect the radius and the displaced copper spreads along the bar instead of lifting the coating at one point.
The Four-Step Fix When a Bulge Still Shows
Even with correct geometry, batches arrive with adhesion weaker than spec, or a customer drawing forces a tight radius. Here is the rework sequence we run, in order:
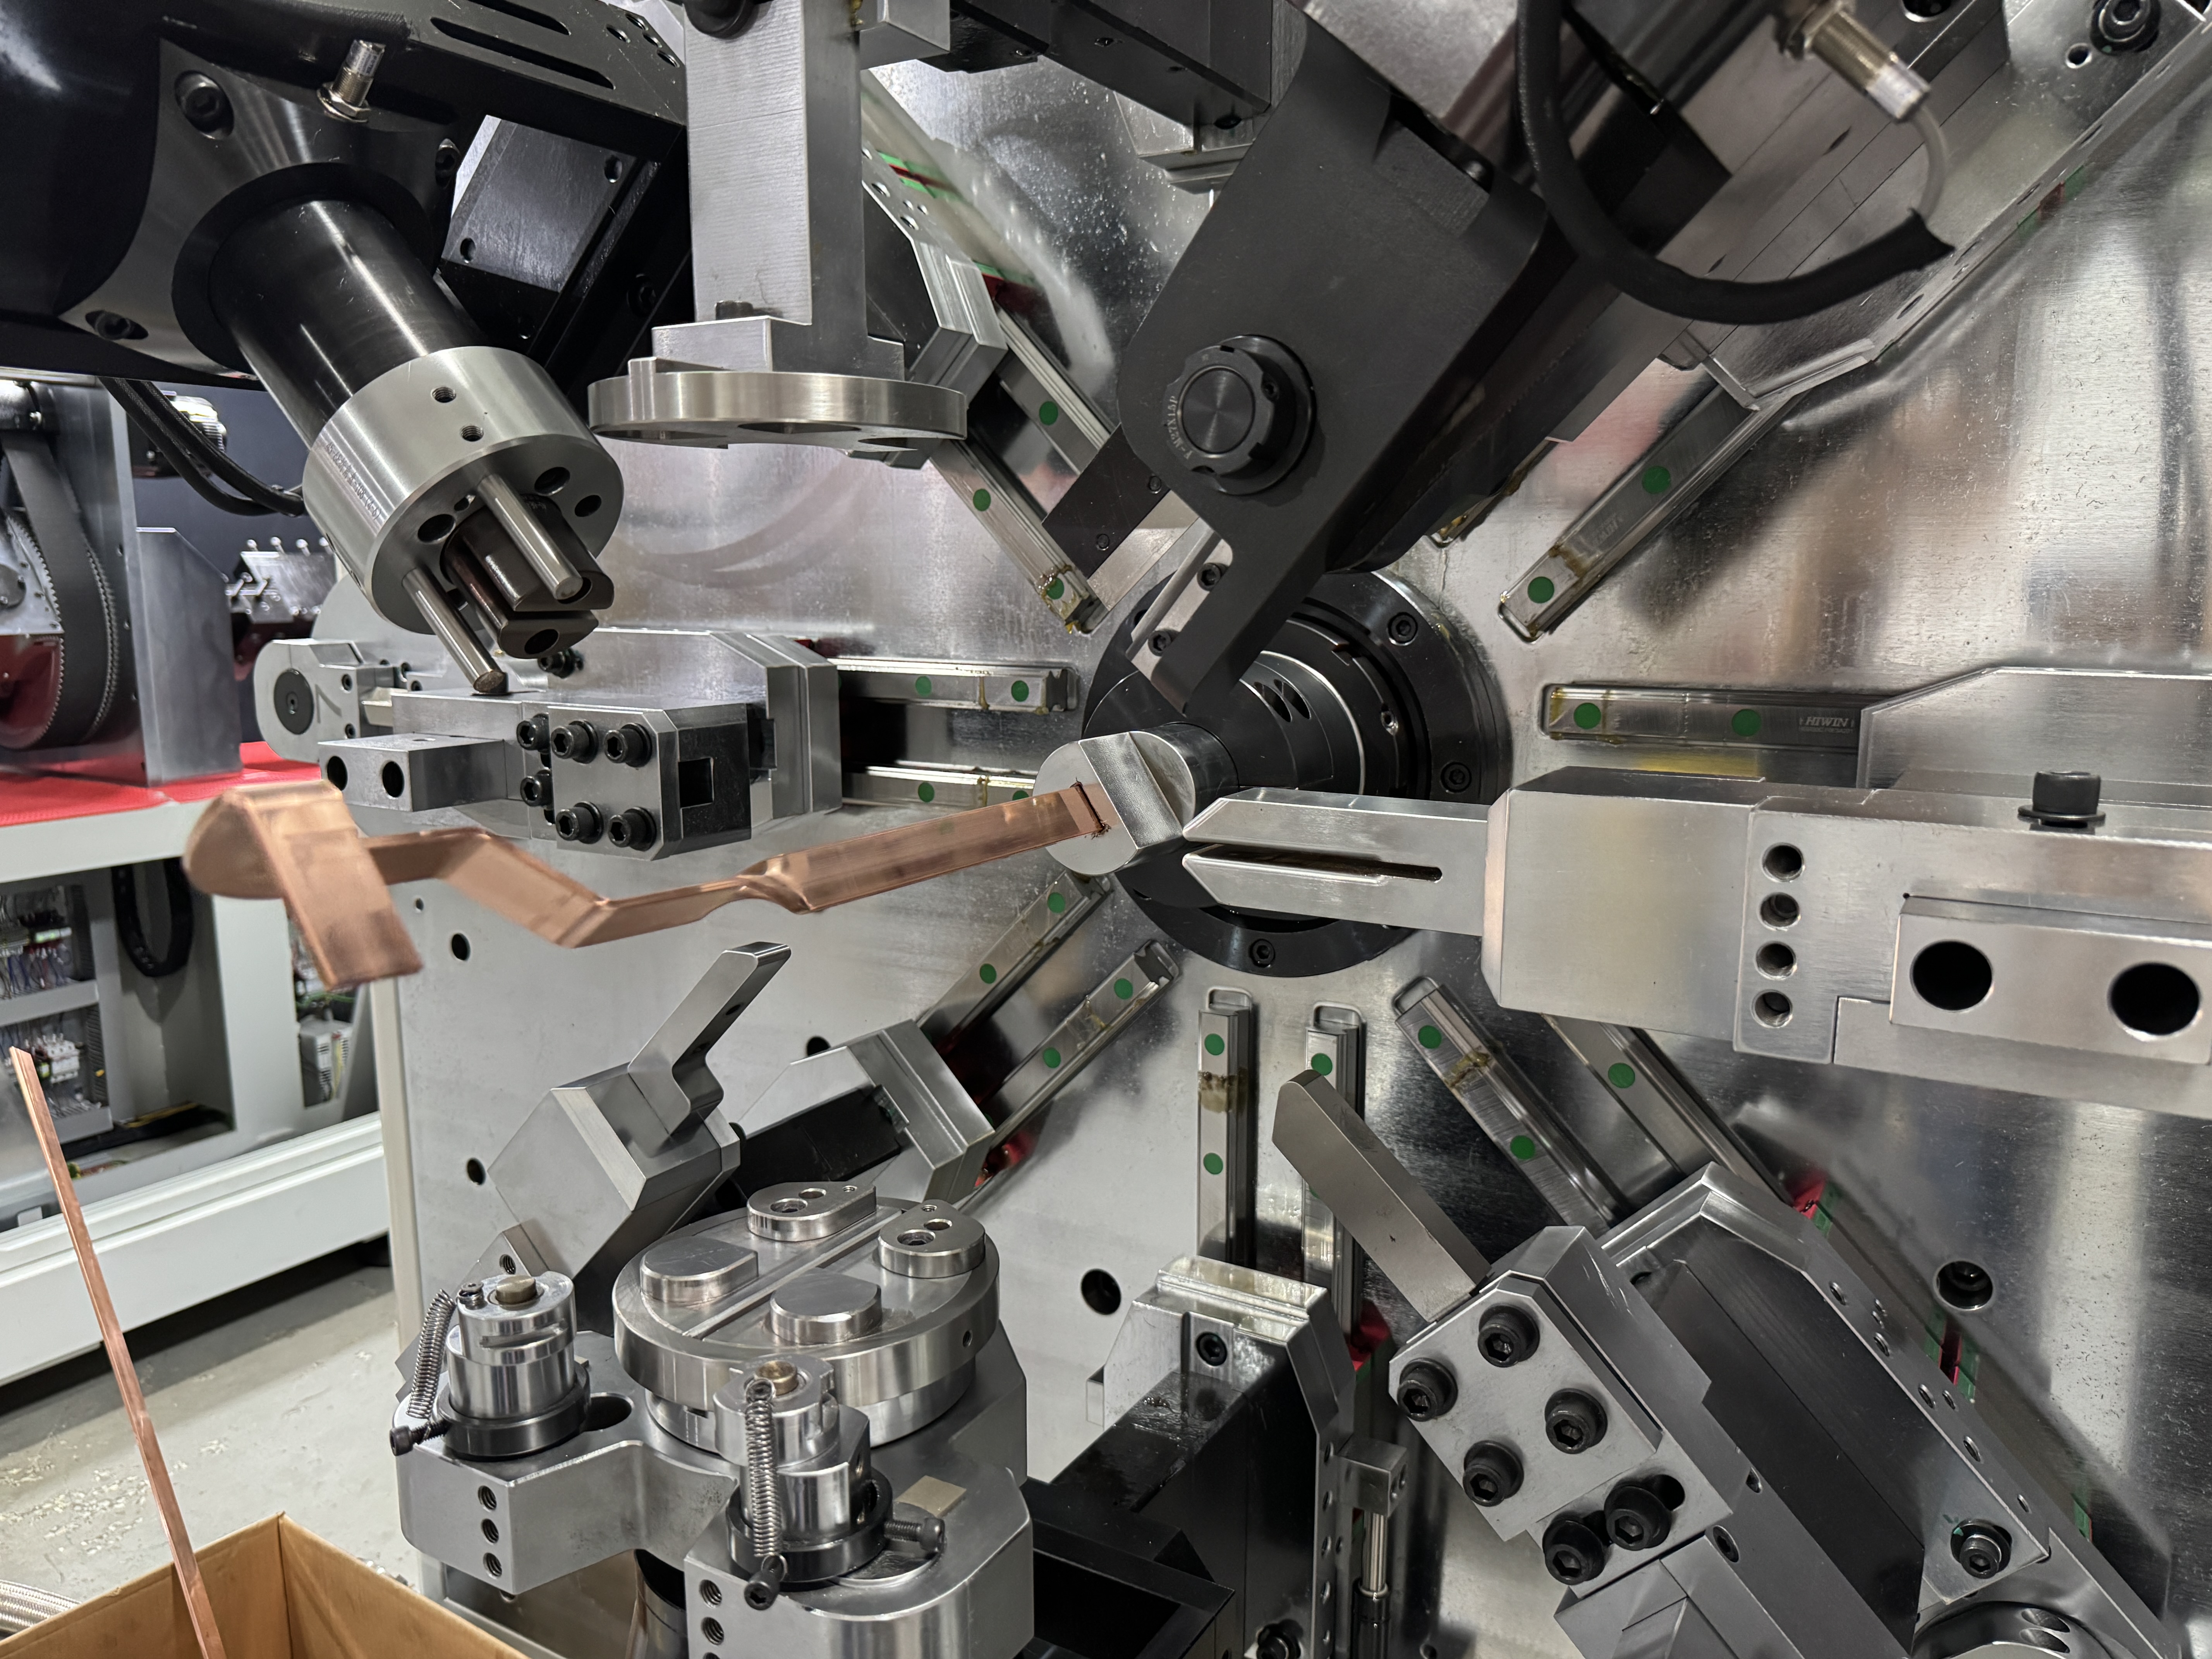
Step 1 — Protect the bar on the way in. Tracked feeding with full-wrap contact keeps the coating from being pre-damaged. A bar that reaches the bend with wheel flats will bulge worse and tear during rework. Our BL-TP-45-6EL, a 13-axis busbar bending machine dedicated to mica-tape bar up to 50 mm wide and 7 mm thick, pairs this track with an auxiliary feed and a straightener — the bar is carried, not dragged.
Step 2 — Preheat at the bend. On a busbar bending machine fitted with a high-frequency unit at the outlet, the bar is warmed just before forming. Heat makes the coating elastic, so it stretches around the displacement instead of lifting sharply. On poorly adhered PVC, this step alone removes a large share of the bulge problem.
Step 3 — Clamp the bulge flat. For parts that still show a lump, a stainless shim goes over the bulge and is held with locking pliers. The shim spreads the pressure so the coating is pressed, not punctured, as it flattens back against the copper.
Step 4 — Tunnel oven, then cool. The clamped part runs through a tunnel oven at 100–130 °C for one to two minutes, then out to fan cooling. The coating re-flows onto the copper as it heats and sets smooth as it cools. A proper tunnel oven busbar rework leaves the repaired zone visually flat, and the part passes insulation testing.
The order matters. Heat without the shim, or clamp without heat, and you trade a bulge for a peeled patch.
Stop the Bulge Before It Forms
The oven step works, but it is labour — and labour compounds across a shift. The economical order of operations:
| Priority | Action | Effect |
| 1 | Inner radius ≥ 1× width (flat) / ≥ 1× thickness (vertical) | Prevents most bulge |
| 2 | Tracked feeding, full-wrap contact | No pre-damage, uniform grip |
| 3 | High-frequency preheat at the bend | Elastic coating, smaller lump |
| 4 | Stainless shim + tunnel oven, 100–130 °C | Recovers the remainder |
Shops that run priorities 1–3 as standard rarely need priority 4 more than occasionally. On a properly configured busbar bending machine, the bulge fix is mostly designed in, not repaired after.
Read Your Own Rejects
Sort this week’s rejects by failure mode, and each pattern points to its own missing step. Bulge only — the radius is too tight for that bar. Bulge with whitening — the bar arrived cold or the preheat was skipped. Peeling near the bend — the coating was damaged on the way in, so check the feed path first. The failure pattern tells you which step your line is missing before you spend a cent on rework tooling.
Send Us Your Drawing
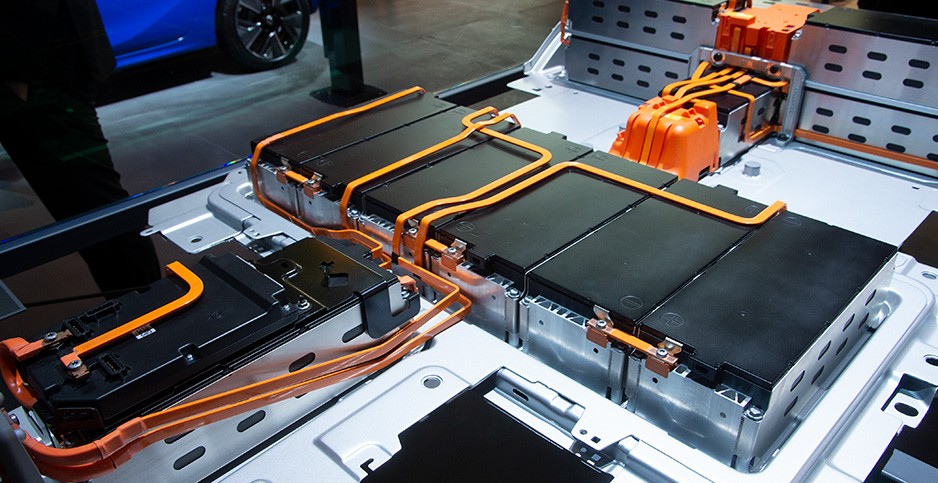
A bulge is a process problem, not a property of insulated bar. Send BELAN your bar specification and the drawing with the tightest radius. We will run the full sequence on our busbar bending machine, measure the bulge on the finished parts, and return them with the process parameters. BELAN Machinery, your expert provider of automotive wire forming solutions.