
"Can you bend this drawing?" That is the first question I hear on every wiper arm project, and my answer is never a plain yes or no. It is: send the material, and we bend one first. A wiper arm is a 3D formed part — bend positions, hole positions, pressed teeth and the cut edge all constrain each other, and no spreadsheet settles that argument as well as one physical sample. Choosing a wiper linkage bending machine should start the same way: look at how the trial run works before you look at what anyone promises. Here is the full process, so you know what to send and what to look for at each step.

Five things your drawing tells us
When an arm drawing lands on my desk, I read five places first. The flat wire section and its tolerance — this machine family runs 4×9mm and 4×12mm sections, and staying inside that range is the precondition for a trial. The bend combination — side bends, vertical bends and twist bends each get their own inner/outer rotary coordination, and the spacing between bends decides the tooling space. The flat feature zones — which face carries the holes, slots, pressed teeth and logo, and how far they sit from the nearest bend line. The cut position and its requirements. And the batch size. Answer those five and I can already say whether a wiper linkage bending machine can run this part; the final say belongs to the wiper arm prototype route — bend one real piece first, and let the sample answer whether it can be made and at what yield.
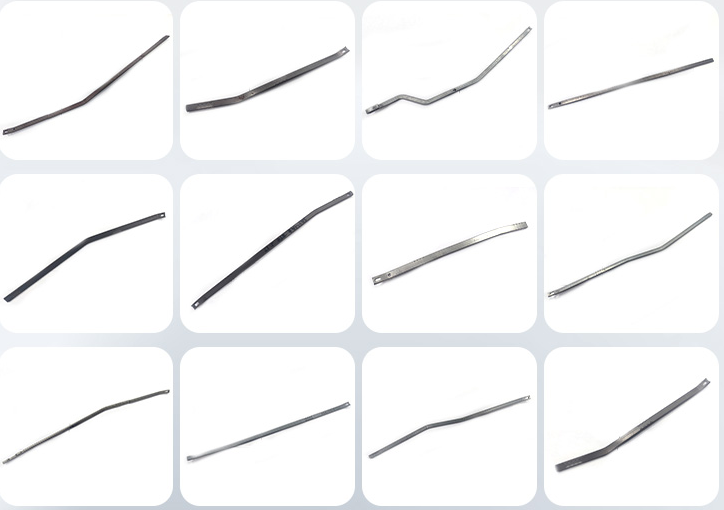
The trial runs on your material, not ours
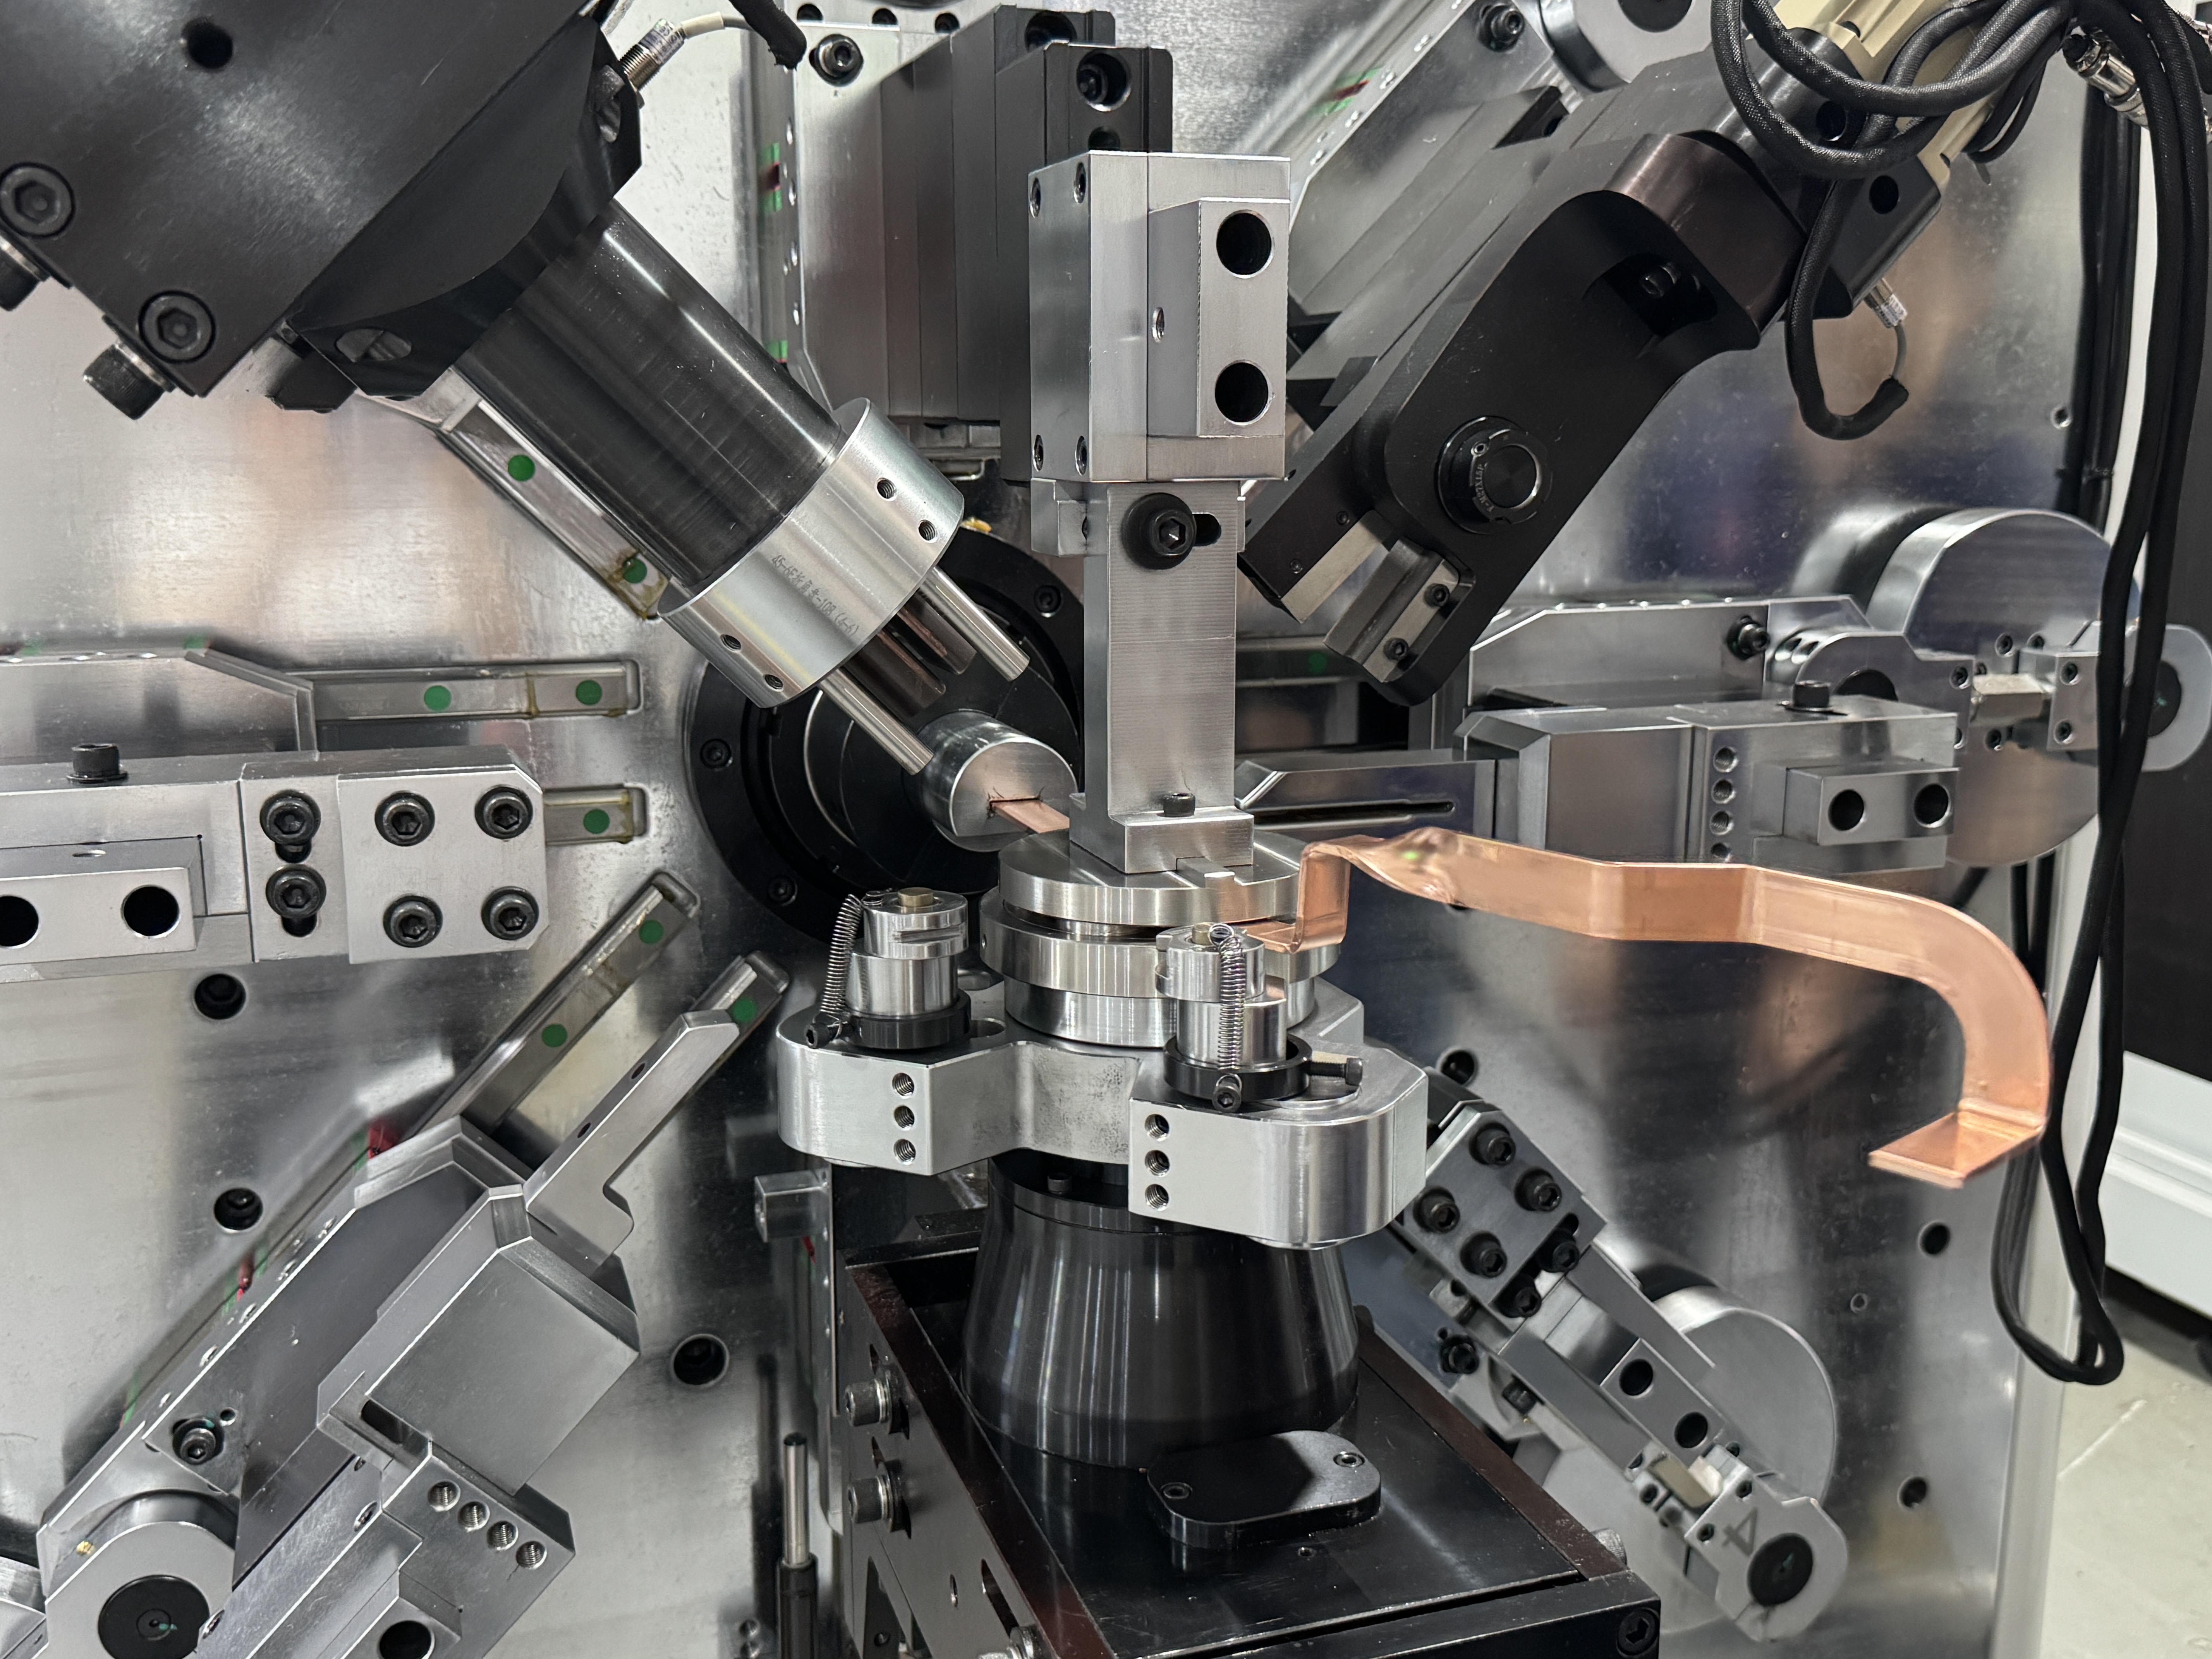
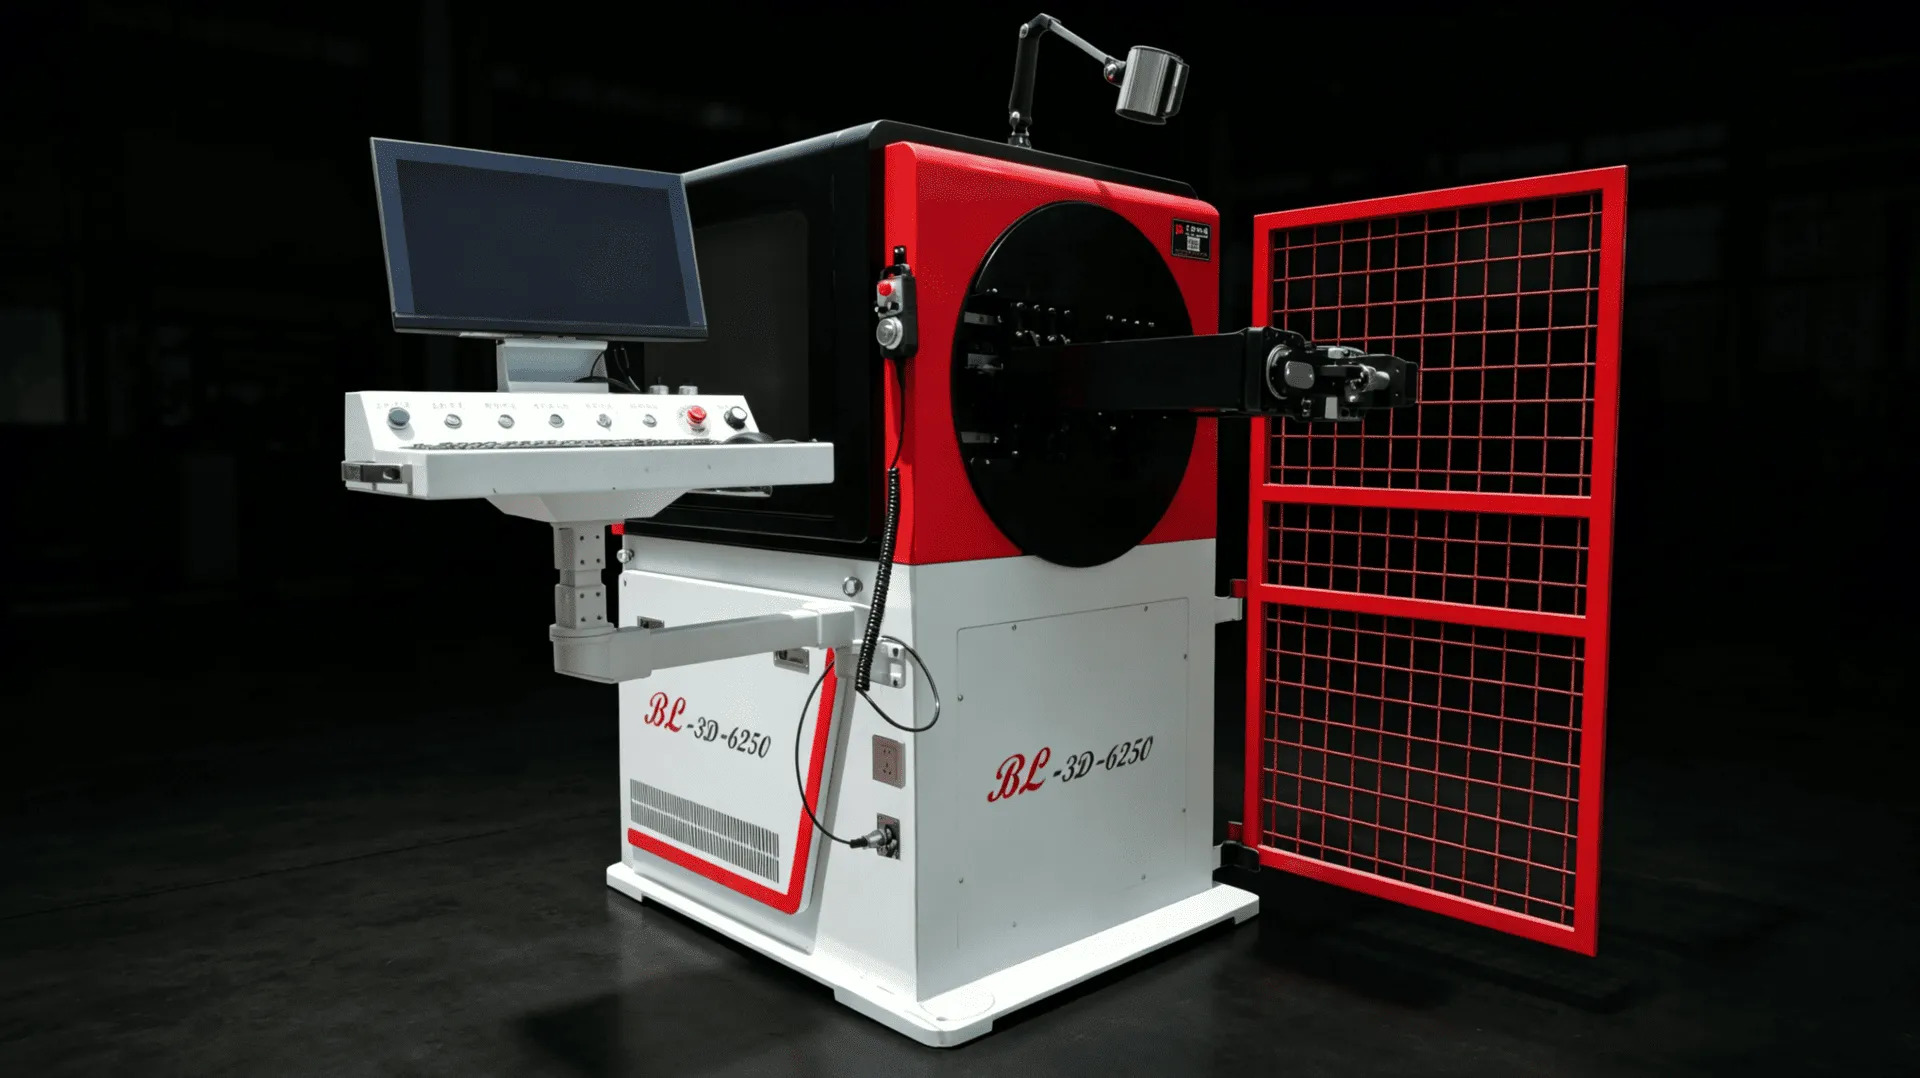
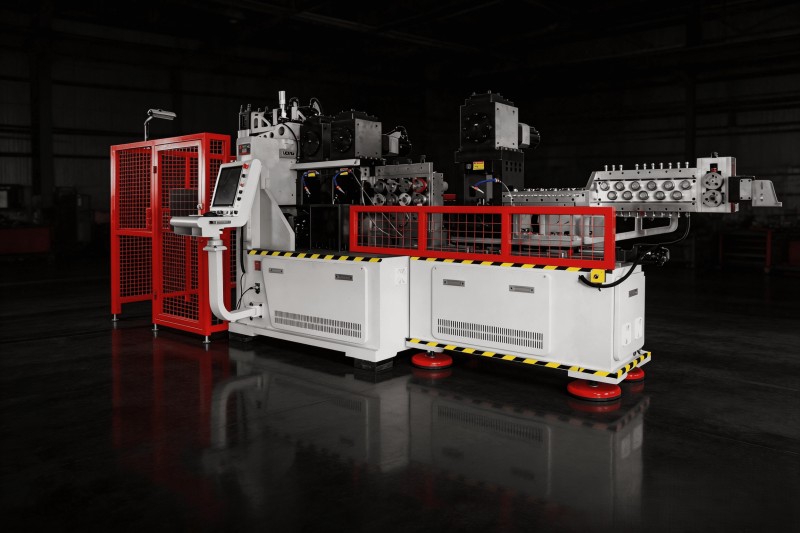
A trial only means something if the material is yours — same grade, same batch, same hardness. After we program the wiper linkage bending machine (BL-YG-12A) to your drawing, the bar goes through straightening first. The straightening rolls carry index markings, so the settings for each material specification can be recorded — the sample and the production run use the same setup, which is exactly what those markings are for. Then feeding and forming: synchronized inner and outer rotary heads produce the side, vertical and twist bends on a 500mm stroke; the flat zones take punching, tooth pressing and logo stamping in sequence; a pre-loaded cut-off closes the chain. Twelve full-servo axes on a 16000KG frame drive the whole flow — the trial and the production run share one processing chain, so approved sample settings carry straight into the batch.
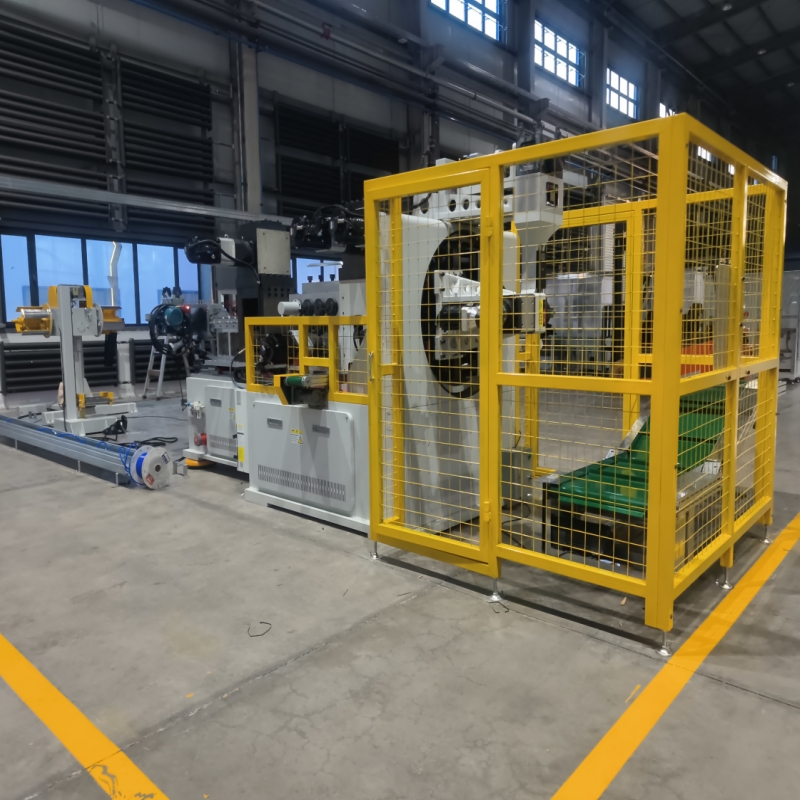
How the sample gets judged
Judging the sample is where a wiper linkage bending machine trial earns its keep. The finished wiper rod sample is checked against five items: total length, bend position and angle, hole position, cut edge and surface. The first three go back to the drawing by number. The cut edge is inspected for burrs and deformation — the cut-off module carries a pre-load function that stabilizes the cut and limits burr risk, but the actual result is confirmed on the sample parts; that is our honest wording, and it should be any supplier's. The surface is checked for press marks and scratches. Only when all five pass is the sample accepted. If any item fails, we change the program and tooling and bend again — correcting at the sample stage is the cheapest correction there is.
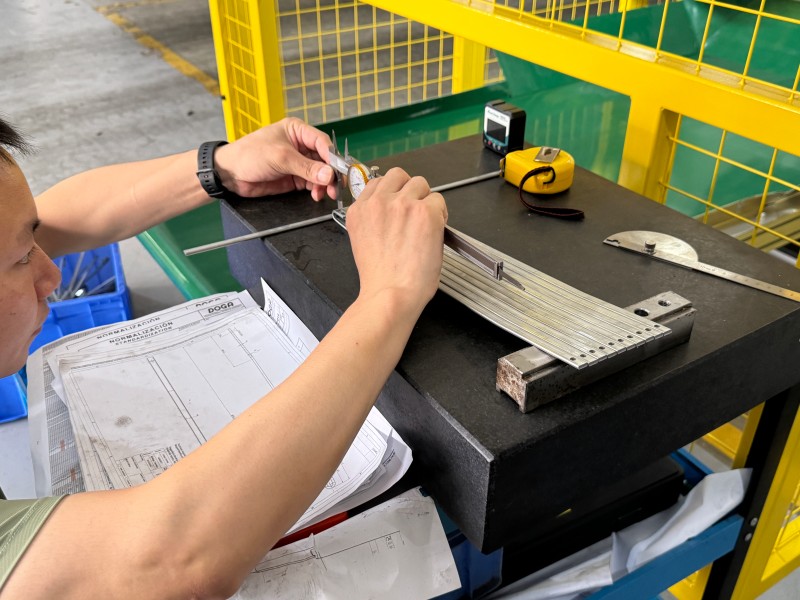
From drawing to sample: five steps
| Step | What we do | What you provide | What you get |
| 1. Drawing review | Check section, bends, flat features, cut edge, batch | Arm drawing, wire grade and section | A straight feasibility answer — including "no" where it applies |
| 2. Program and straightening setup | Program to drawing, record straightening indexes | Material specification | Settings identical to future production |
| 3. Trial bends | Run the full chain on your material | Trial material from your batch | A physical sample |
| 4. Sample measurement | Five-item check, data recorded | Tolerances and acceptance criteria | Sample report with measured values |
| 5. Conclusion and handover | Lock production settings after sample approval | Purchase decision | Sample to production with no second exploration |
Why we bend before you buy
Because forming capability can only be verified with your material and your drawing. Catalog pages and parameter tables cannot do it. Bend combinations, springback, tooth depth, cut burrs — each follows the material, and a new batch re-opens every question. Once the sample is approved, the sequence and settings carry over directly into production; how that sequence is locked into the line is what yesterday's wiper linkage bending machine article on operation order covers in detail. Read together, the two pieces form one path from decision to production. A sample gate held tight saves every gate after it.
Start with a drawing, not a quotation
Selecting a wiper linkage bending machine should not begin with a price list. It should begin with a sample bent from your own material. Send us the arm drawing, the flat wire grade and section, and your acceptance criteria, and we will walk the five steps above: first tell you plainly which features run as drawn and which need a design change, then bend the sample on your material and hand it over with the five-item measurement report. BELAN Machinery, your expert provider of automotive wire forming solutions.